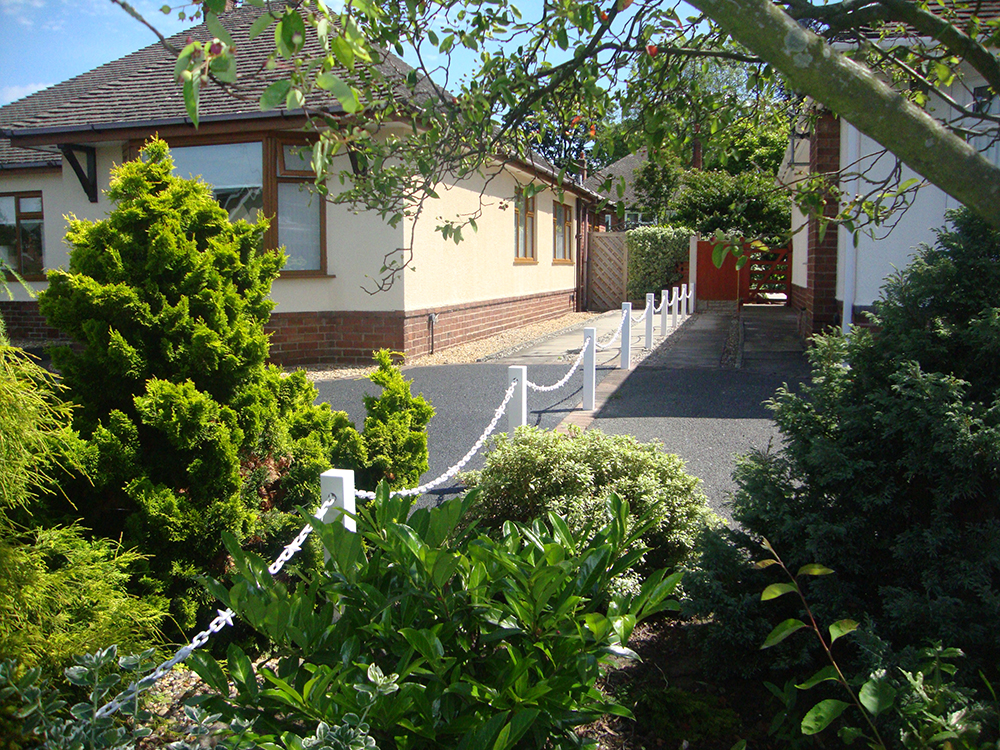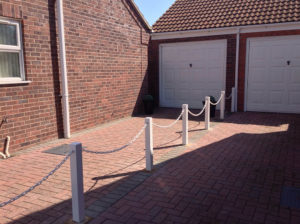
Do you require a modern, maintenance free and easy to install driveway/boundary fencing solution? If that is the case, then we may just offer the solution you have been looking for and this post could be worth a few minutes of your time.
We manufacture and sell our own range of plastic post and chain link fencing solutions here in the North West of England, the majority of our customers are domestic home owners looking for a simple cost effective method of creating property boundary’s which is what I will talk about in this post.
We get a lot of calls from potential customers who all have various boundary issues with either the next door neighbours, the post man, passers-by or delivery drivers, all the issues are different but what they all have in common is the desire to stop people/vehicles from crossing onto property that they shouldn’t be on.
We offer a range of plastic UPVC posts and plastic chain that is ideal for solving these irritating boundary issues, you may not have a boundary issue and you may just want to make the front of your house look pretty/tidy etc and that we can help with. We have 2 styles of post available in either black or white and with 3 different fitting methods depending on what you require and how simple you need the installation to be. However, all of our posts are designed to be inserted into the ground in some way and not surface mounted to a concrete/block paved drive so you really do need to plan ahead and purchase the posts before you have that lovely new driveway laid.
 Our Temporary posts are available in 22inch and 36inch lengths and measure 2inch square, these are the measurements that are visible above ground level and they are also the easiest of our posts to install. Don’t be put off by the name Temporary post though, these posts were initially developed for use at agriculture shows, summer events etc when they would be erected for 2/3 days and then packed away until the next event and then used again and again. However due to the ease of installation they have become very popular with home owners and really do look very pretty, the 22inch post is the most popular post in this range and really does look great when installed. This post comes complete with a high quality redwood pressure treated timber stake that is either knocked into the ground or set into concrete if you wish (ensuring its plumb) and then the plastic post simply slides over the timber and rests on the ground and is secured at the bottom with a small screw.
Then we have our Premier posts, these are 3inch square posts and are designed to stand 24inch out of the ground when installed. We have two fixing methods available on this post and both methods can be used on the same installation if desired, in some circumstances we will actually recommend a mixture of fixing methods and this would be the case if you have a post that may be installed in a location susceptible to vehicles driving into it.
The 1st method of installation is the ground fix option, this is our most popular post and the post measures 36inch in length and is designed to have 12inch inserted into the ground. The installation normally involves digging a hole and placing the post in the hole and putting a little concrete around the post to secure it, the post does have a pin that sticks out 2inch either side of the post to give the concrete something to grab onto and prevent the post from being lifted out.
The 2nd method of installation is the socket fix option, this post looks exactly the same as the ground fix option when installed but the post can be removed at any time for cutting the grass or vehicle access for example. Also as discussed earlier, this is the post we would recommend if you have a post in a location that is susceptible to damage as it can easily be changed without having to dig out the post. Installation of this post is fairly simple depending on the ground conditions but it is the post that requires the most concentration to ensure you get a perfect installation. We provide a plastic socket tool that will help you form a hole for the ground sockets in a flower bed/lawn and then once the hole is formed you simply pop a ground socket into the hole you have created and then place a piece of timber on the top of the socket and knock it into the ground the last couple of inches to get a firm fit. However not all ground conditions will allow for such an easy installation and sometimes it will be necessary to dig a hole and pop the socket into the hole and either back fill the soil ensuring the socket is plumb and level with the ground or use a little concrete around the socket which is my preferred option in any case.
Hopefully you now know more about our posts and have a good idea of which post you require for your installation and now you are possibly thinking about how many posts you need. Well, each installation is different and there is no right or wrong answer as a lot depends on the effect you want to achieve and the size/shape of the area you are installing the posts and chains. However, as a guide I would recommend that you start to plan the layout based on a 2-meter spacing between each post and then adjust this measurement either way to try and get an even spacing between each post whenever possible as this will give the best effect. If your fencing is all in straight lines then you have an easy layout but if the post and chain fencing has to follow a curved lawn or driveway for example then you may need to space the posts closer together to ensure the chain follows the curve rather than cut across the lawn/driveway.
All of our posts are available in 4 different chain hole combinations and those combinations can be seen by clicking here. (6th F.A.Q down)
So now we have determined which posts you require and also the qty needed all that is left is to choose the correct plastic chain to complete the installation. We sell 6mm and 8mm plastic chain here in our store but only the 8mm chain is suitable for use with our posts as the 6mm chain is far too small and simply falls through the chain holes without being secured. As far as the amount of chain that is needed for your posts then this is a simple calculation, simply measure from your 1st post to your last post and add 10% onto this measurement to allow for the droop between each post so a 15 meter run of fencing would require 16.5 meters of chain. We sell our plastic chain in 10 standard colours and 45 dual colour combinations so we are sure you will find a colour that you will love, most people do play it safe and use black or white chain but since the introduction of the other colours this year we are starting to see customers use other colours such as blue and green with their posts.
Thank you for taking the time to read this and I hope that you found it useful in some way, if you want to discuss our products in more detail then please feel free to call us, email us or click on the green web chat box in the bottom right hand corner if you are on a desk top and we will be happy to advise you on your project.